I was so happy to make some cards using the new 4″x6″ Christmas Card stamp set by In a Creative Bubble! Seriously, if you want to make all your Christmas cards with just one stamp, this is the one! It is so versatile – I haven’t even used all the stamps in the set, yet I easily made four cards that have all different looks. So fun!
I’ll be posting an unboxing video at 3:00 PM EST where you can have a look at the 4″x6″ Christmas Card stamp and the 4″x6″ Christmas paper pad.
Also… Happy WCMD (World Cardmaking Day)!! Check out the challenges at Studio Calico and play along for a chance to win a prize!

This was a fun card to make! There are 5 stars lined up in a row in this stamp set, so with some masking I turned them into a Christmas tree!
This was a tricky one to photograph, but here’s a detail of the shine:

I used metallic silver and red glitter embossing powders.

The background is made entirely by blending Color Theory dye inks!

this one was another really fun card to make. I love the script stamp, and the holly stamp.

I added some red glitter glue (Stickles) to add some pops of colors.

For this card, in addition to the 4″x6″ Christmas Card stamp, I also used a piece of the 4″x6″ Christmas paper pad.

The script stamp is gorgeous! I embossed it in gold.

And here’s a look at how I made the background – that pattern stamp is so versatile!

Finally, I got creative on this last card, and used the branch stamp to spell out 2016. 🙂

The stamp set comes with two solid circles that you can use to stamp in the berries, but instead I decided to use some markers to color up all the outlines.

You can use anything you like – watercolors, brush markers, colored pencils, etc. I used Mildliners markers because I got them recently and had them sitting on my desk. 🙂 I love the colors! They are double sided – they have a highlighter tip as well as a detail tip, which I used here.
I hope you liked my cards! I had a lot of fun making them!
You can check out my Project Life projects here:
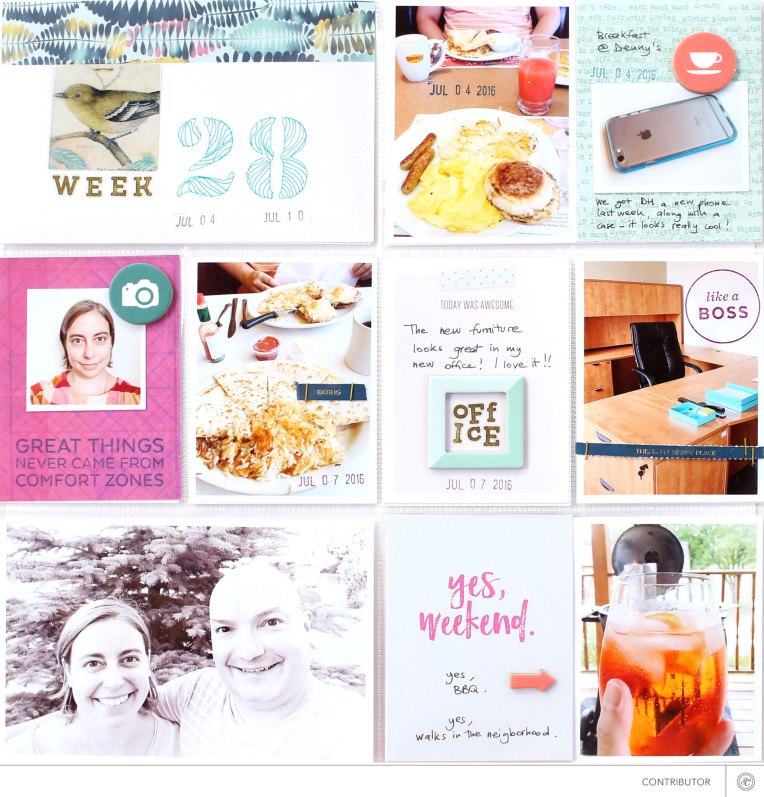
Project Life 2016 – Week 28
Project Life 2016 – vol. 2 Title Page
Project Life 2016 – week 29 insert.