Hello! I am sharing here the post I made yesterday for the write.click.scrapbook blog on letterpress. I just started letter pressing last week, and I am in love! A while back I showed you how to create a faux letterpress look using embossing folders, but today I want to show you how to do real letter pressing.
Here is what you will need:
- Die cutting machine. I have a Big Shot.
- Letterpress platform. I have seen people who say they can letterpress just by adding some cardstock shims and the regular cutting pads, but I didn’t want to have to guess every time so I bought the platform – and I have no regrets! Especially since letterpress paper is pretty expensive and I don’t want to waste it on trials.
- Letterpress paper. The type of paper you use is critical to get a deep impression and get the most out of your letterpressing. I know some crafters have great results with watercolor paper, but that has not been the case with the watercolor paper I had on hand, so letterpress paper it is for me.
- Letterpress plates. There are many designs available, I’m sure you’ll have fun picking your favorites!
- Ink. To be honest, I have not tried letterpress ink just yet. I’ve heard horror stories about how hard it is to clean up, so I started going the easy way, and I have just used ink pads for now. 🙂 The examples on this page use distress ink pads (I love the bright colors). I also love doing blind impressions (no ink) as I think adding the ink detracts a bit from the deep impression. More recently, I tried pigment inks and also letterpress inks – the cleanup isn’t really that bad as long as you use the convenient wipes that come in the letterpress kit, and the coverage is the best!
With the idea of putting a page together, I made two letterpressed cards using plates from Studio Calico.

For the card on the left I used the picked raspberry color, and I added spiced marmalade for the card on the right to get an ombre effect.
I used the Poet Society kits by Studio Calico for my page. Using the letterpressed cards, it was very easy to build a design using my photo and some strips of patterned paper. I added some stamping with grey ink to tie to the background paper, and completed the page with some gold splatters and sewing.

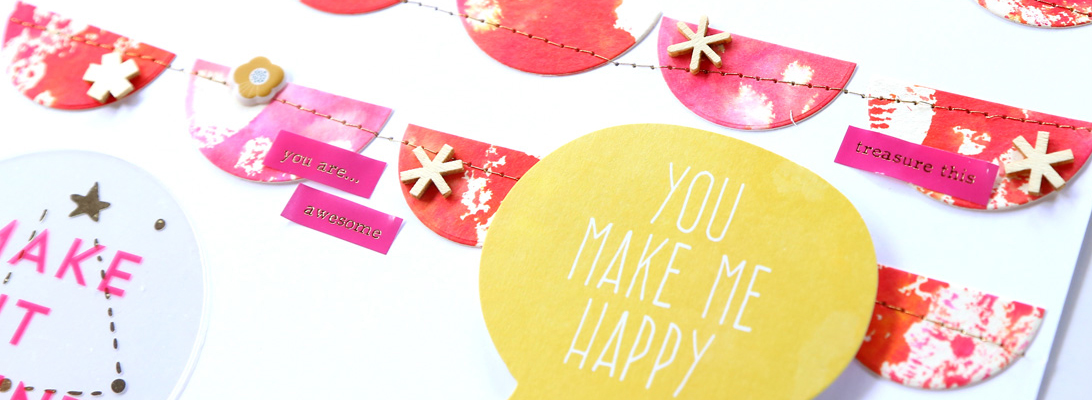
Here are a couple detail shots.
I hope this has inspired you to give lettepress a try – I love how easy it is to put together a page starting from a couple of letterpressed cards. Share your creations in the comments! I’d love to hear your tips too, as I am just starting out myself.


