For September I only got the Studio Calico scrapbook main kit, Brimfield ($34.99). I didn’t like the look of the embellishment add on kit this month so I passed.
Notes: I love the color scheme, even if it doesn’t quite fit with my fall palette. The kit only has 2 pieces of card stock (one of which, the kraft one, is non my fave at all) so I had to grab a few extra pieces from my stash. It also has only one alpha, with single letters – luckily I had in my stash the Laina alpha stamp that matches it perfectly. I loved the paper with the birds, the acetate shapes, the enamel dots and stars, the transparency with the stars and the roller stamp. The little deer embellishment is really tiny, but very cute. The chipboard phrases are nice but the mint color isn’t my fave — however, I used them a lot and I loved adding them to my pages!
The floral paper and especially the floral map are not really my style.
Kill my Studio Calico kit is a monthly series I started on my blog to hold myself accountable and use up my kits. My goal is to use up a kit before the next one arrives.
Status: killed!
I made 12 layouts (10 12″x12″, 1 8.5″x11″ and 1 9″x12″), for a total of $34.99, or $2.92/page. I supplemented the kit with some cardstock from my stash, stamps, and the odd embellishment. Here’s a roundup of all the pages I made:
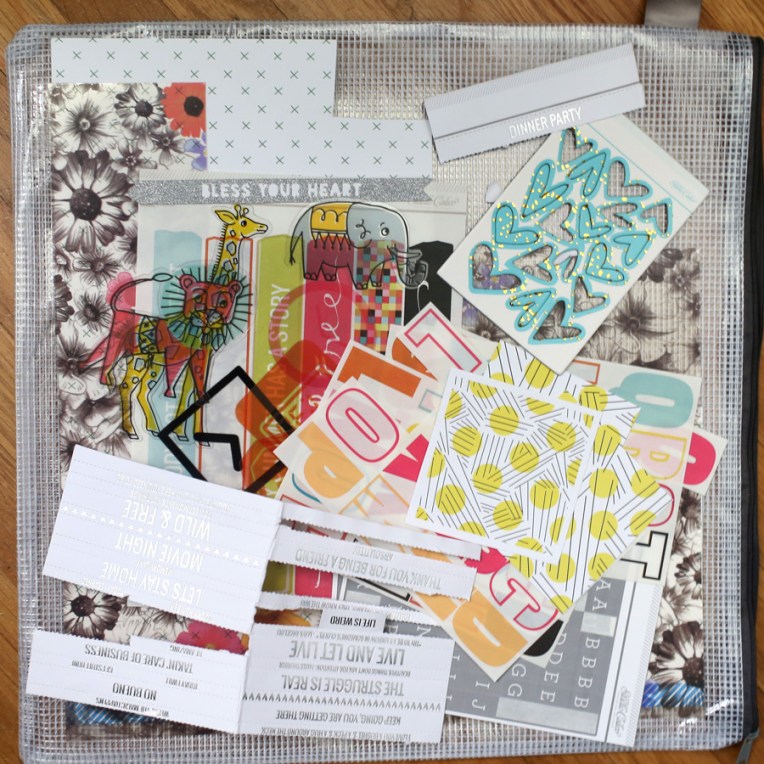
And here is what I have left:
Leftovers: almost nothing, really.. One of the washi strips, some scraps of paper, some letters, a few chipboard phrases, a piece of the star transparency and a couple of enamel shapes.
And here is what I made with the kit, from beginning to end.
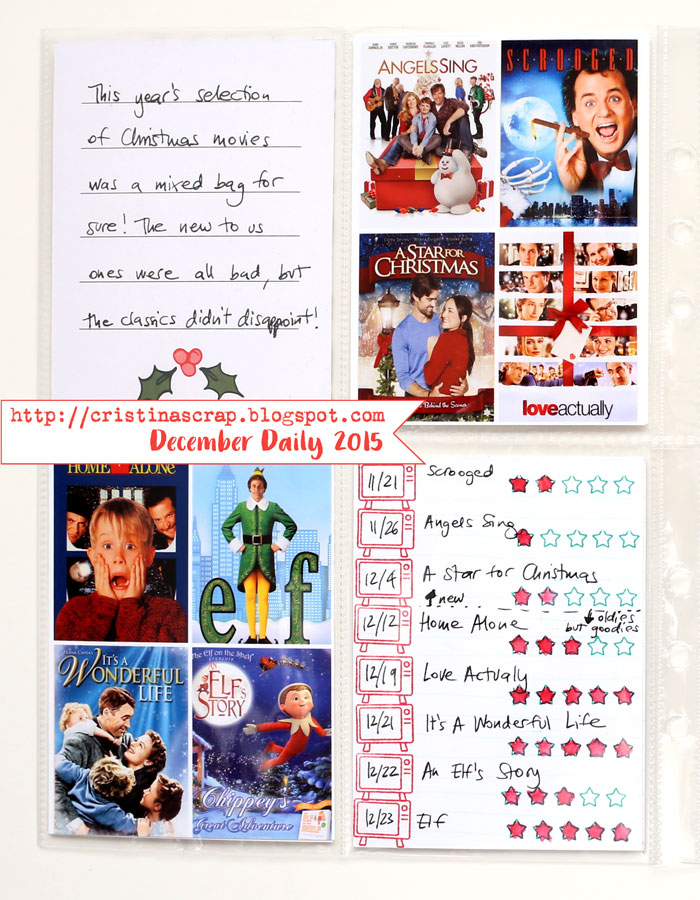
I noticed a fun pattern in my scrapbooking habits – more often than not, the very first page I make has my least favorite paper. In this case, it was that kraft card stock, way too dark for my taste. But it worked just right with these pops of color! I used the month roller stamp to create some pattern and fill in my page.
I love those acetate birds!
I incorporated the lovely chipboard phrases in my journaling.
The star transparency was great to work with!
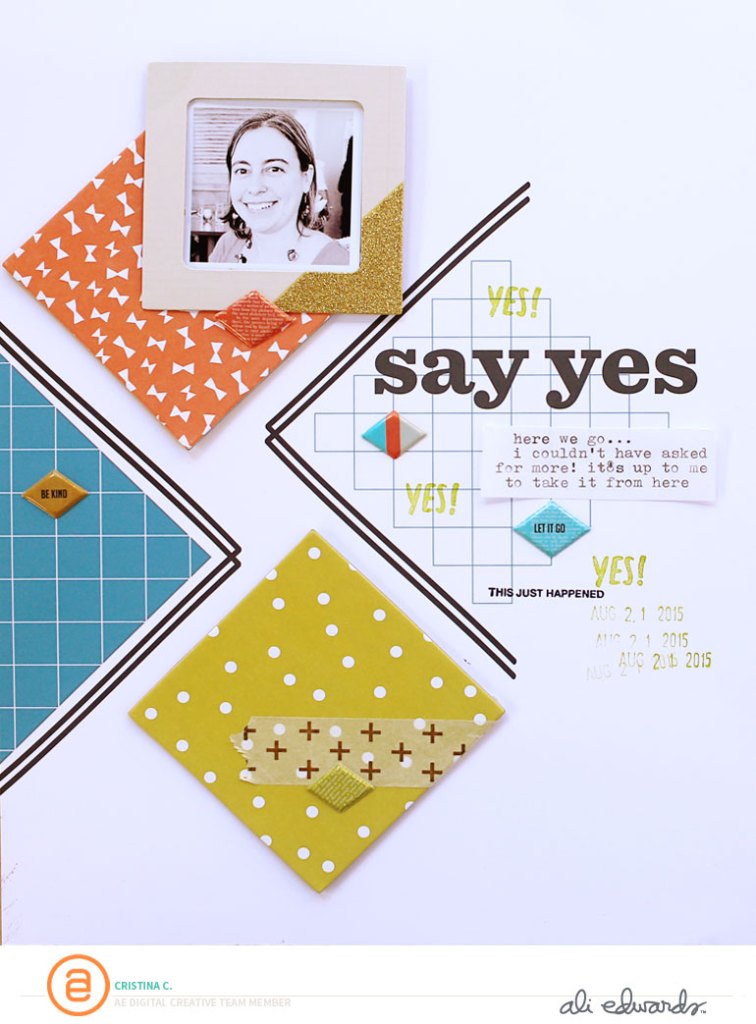
This page goes with the previous one.
To be honest there isn’t much from the Brimfield scrapbook kit on this page – only the pink strips of paper, the phrase strip and the “september” stamp (the acetate shapes are from the PL kit), but I am counting it anyway.
For this page I cut into the bird paper – my fave! – and I love how it turned out!
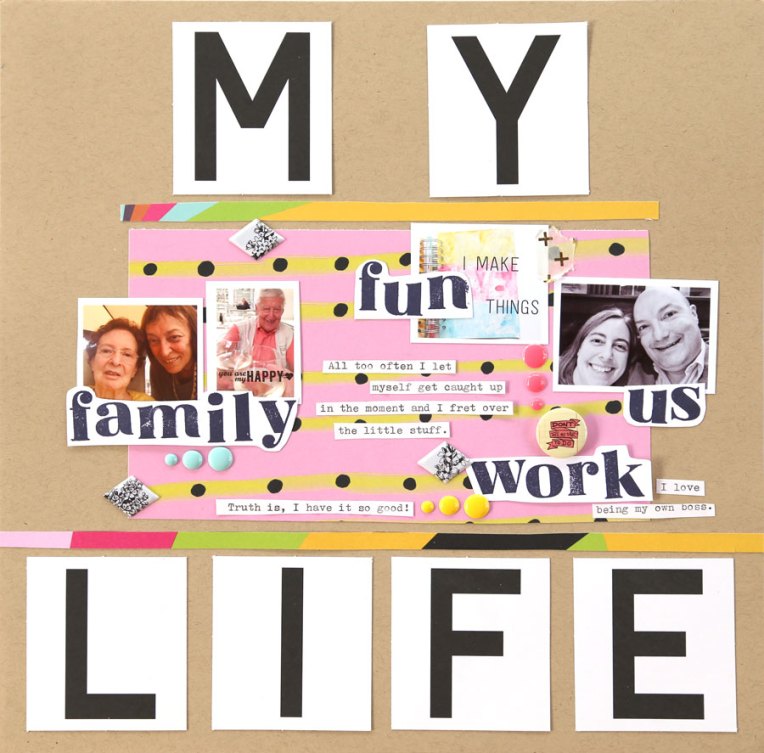
This month it’s harder than usual for me to pick a favorite page, but I think this is it. I just love the colors!
I wasn’t a fan of the floral pattern, but it turned out to be just the perfect backdrop for this photo of me and my grandpa. I love this page so much.
And with this page I almost used up the entire bird paper. Kudos to me for not hoarding it! 🙂
As I already said, I was not a fan of the floral map paper. But it worked OK to document this memory from our spring travels. This is a 9″x12″ page.
I pretty much used up all the remaining paper scraps on this page! I also used the chipboard ‘frame’ that surrounded the chipboard phrases. I had cut off some of the empty space on some of the phrases, and used those pieces here to stamp some little phrases. I love how this page turned out
The very last page I made used up the last few scraps I had left – most of the washi strips, and some enamel shapes. All the other embellishments, plus the watercolor piece painted by me, and the paper are from my stash.
This was a very productive month, I felt I really stretched the kit quite a bit. Time for October’s kits now!