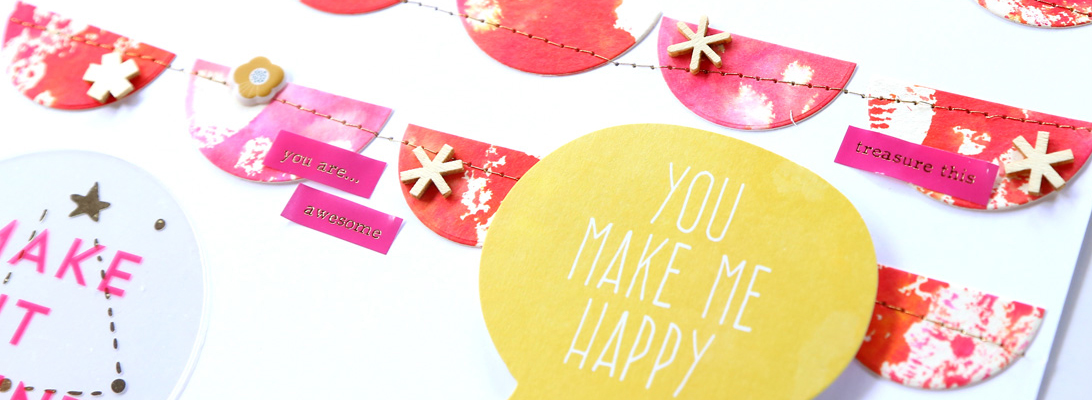
February Fun

Hello there! I have been quiet lately because I was traveling to the West Coast last week. Now I am back, and back to scrapping! Today I am sharing some pages made with the latest releases from The Lilypad.


Credits:

Mistral kit by Lynn Grieveson

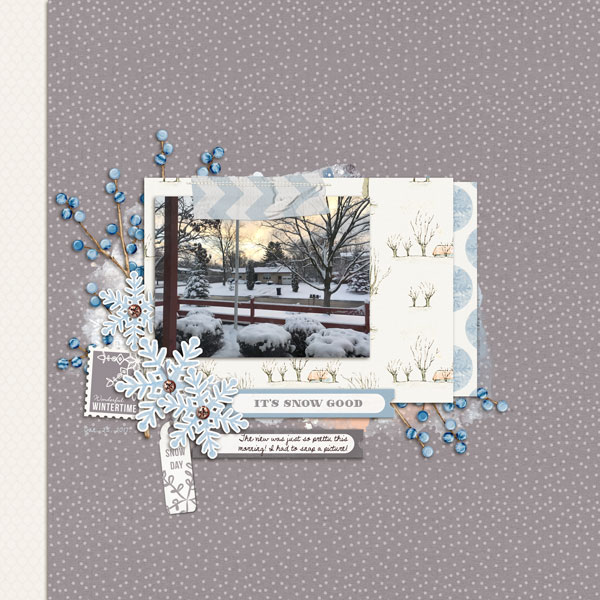
We’ve had a very mild winter so far, with this being a rare – and pretty – exception. To be honest, I don’t mind snow at all, and I love the sight. It just bothers me when I cannot get out of the driveway. 🙂

Credits:

And here’s my first travel page! I cannot resist scrapping the latest photos, and especially this time since it was such a lovely trip.

February BYOC at The Lilypad

Hello and happy February! I have been traveling so haven’t had time to make more than one page with the BYOC collection released today at The Lilypad. But I love how this one turned out!! I dug out some photos from our trip to Hawaii since the lovely colors in this collection reminded me of this place. 🙂


Credits:


New Chapter Papers and New Chapter Elements by Sabrina’s Creations

The watercolored paper I used on the heart is so gorgeous!!

Kill My Studio Calico Kit – Jan. 2017: Roman Holiday

Welcome back for another installment of this Kill My Studio Calico Kit series: this is the 10th kit I have killed (I took a break after killing Homespun), and in total I have made a whopping 122 layouts. Yay me!

Kill my Studio Calico kit is a monthly series I started on my blog to hold myself accountable and use up my kits. You can subscribe to the Studio Calico Scrapbook kit here.
I considered a kit killed when I don’t have enough paper to make another layout.

This month I am using the Studio Calico scrapbook main kit, Roman Holiday.


Notes:  I really love the look of this kit! Pretty colors and fun embellishments. I was a bit unsure about the chipboard pencils (they had chipboard paintbrushes in the Film Club kit and those stumped me, because I tend to use elements in a literal way). The stamp is small and the sentiments aren’t all that useful to me, but I still managed to use it on several pages. The puffy hearts and puffy stickers are always a favorite of mine, and I like the touches of gold on the phrase stickers and die cuts. The floral paper is my favorite, along with the specialty paper.

Status: Not totally killed, but close!
I made 10 layouts (9 12″x12″ and 1 8.5″x11″), for a total of $39.99, or $4/page. I supplemented the kit with some embellishments from my stash, since after my January craft room reorganization I challenged myself to add a little bit of something old to every page I make. I also used some bits from the Roman Holiday Documenter kit. I also used and cardstock from my stash for a couple pages. Here’s a roundup of all the pages I made:

And here is what I have left:

Leftovers: the kit is rather killed. I could have kept going with this bits and pieces and probably made 2 more pages, but I wanted to wrap this kit up, and I am going to be hoarding that floral paper a bit longer. I love it so! I will use it up in bits and pieces here and there. 🙂

And here’s a look at all the projects I made:

This is the first project I made, and I stuck to a pink and gray color scheme, with gold accents. Usually  I am not a big fan of the washi strips, but I really like how this one looks on the pink background. I added some watercoloring on the “twenty seventeen” die cut. And the gold “cheers”, flair, sequins, pink hearts, rubber banner, gold label, star stickers and the tiny alpha stickers are all from my stash. The “anything is possible” stamp is from the same month’s Documenter kit, while the “You + Me” is from the scrapbook kit (I didn’t ink up the “= OUI” part since I have no use for that part of the sentiment).

Next up, one of my favorite pages of all times. It’s a two-page spread, in fact. I made it to recap what happened in 2016.

The left page was made to use up this lovely letterpress calendar. I thought about cutting it up to use the “it’s your year” part, but then I really liked the whole page, and the idea for this spread was born. The background paper (Maggie Holmes for Crate Paper) and alpha stickers (A Beautiful Mess) are from my stash.

The right hand side really makes me so happy. I started out with the pencils and the washi strips (the ones without the words are from the Roman Holiday Documenter kit). I spaced them out on the page, then calculated how many photos I’d need to fill up the space. It was so hard to narrow it down to only 16 photos!! That’s what I love more about this page – as I was putting it together, I looked through all my photos and thought back at all the good things that happened this year.
I used the puffy stickers from the kit to mark the months of the year corresponding to the photos, which I arranged chronologically. The only thing I added from my stash is the gold chipboard alpha and some sequins.

Totally switched up the color scheme for this page! 🙂 Once again, I used the pencils to create the design of this page, which is based on a grid. I pulled out some yellow stars, washi and sequins from my stash, as well as some cork asterisks and chipboard alpha.

Here I added some chipboard hearts, puffy stickers, flair and wood veneer from my stash, as well as a couple stamped phrases.

The leaves are from my stash, but they were just perfect for this page! I kept it simple and I love it just the way it is!

I just added a doily from my stash for this page.

The background cardstock is from my stash. I painted some watercolor circles in the color of the heart stickers from the kit.

On this page I documented a few favorite things from this month. I love the neon refill tape for my Dymo label maker! It doesn’t photograph well but it’s truly neon, so pretty!

Cardstock and chipboard embellishments from my stash. I wanted to use black cardstock for the background, but since I didn’t have any, I decided to paint some. I love the effect!

This was so fun to make!! Totally inspired by a template by Scrapping by Liz that I used in this digital page.

And that’s it for this month! If you have any questions, please leave a comment and let me know!

You can subscribe to the Studio Calico Scrapbook kit here.

I purchased all products myself, but if you use the affiliate links in this post (at no extra cost to you!) you’ll help me buy more supplies and bring more content to this blog. Thanks for stopping by!
Memory Pockets Monthly: Crush

Hello! February is nearly hear and this means it’s time for the newest Memory Pockets Monthly collection from The Lilypad. I am so in love with this one! It features a fun and fresh palette, with the reds and pinks that I love, paired with some fun colors – blue, yellow and aqua!

Credits:
 
These squares were made using the template included in the kit.

Credits:
 
More Paper Strips Templates by Scrapping with Liz
A Love Story Digital Kit by Paislee Press

Have a lovely end of the week!

Project Life 2017 Title Page

2017 is my fifth year doing Project Life. I’ve always done it in 12×12 format, with a 2-page spread per week, and this format just works for me. That puts me at two albums per year. In 2012 I completed about 30 weeks, but in 2013-2015 I made the whole year, and I am on the way to finishing up 2016 too. (yay!!)
But in the meantime I couldn’t resist putting together the title page for 2017. I used the Studio Calico Roman Holiday Documenter kit, plus some floral and butterfly printables from Wilna Furstenberg, and an old calendar template that is now out of production.

That floral card is my favorite in this month’s kit!

I love how well these printables matched the rest of this spread.

Are you a Project Lifer? I’d love to hear from you!

Mixed Media Monthly – Jan. ’17 from The Lilypad

Hello and happy Friday!! I have a lot of pages to share today that were made with the newest releases from The Lilypad – 20% off through the weekend!

Credits:

The January Mixed Media Monthly collection is gorgeous! I know I say that every month, but it is true! I used it to make 2 photoless pages.


Credits:

Mixed Media Monthly – Jan. ’17 from The Lilypad

Resolute FacesResolute Word Art and Resolute Tags by Lynne-Marie

These are great scrap therapy!


Credits:
 
Resolute papers by Lynne-Marie

Finally, I made this with the gorgeous Pia collection by Rebecca McMeen – there’s so much more in this kit than what I used! It’s all so beautiful!


Credits:
 
Pia and Pia Artful Memories by Rebecca McMeen

There are some doll pieces in the kit, but you don’t necessarily have to use them to build da doll – I used two of the dress parts as my paint background!
Have a great weekend!

Beary Cold

So far we have not been having a very cold winter (but it’s still early!), but I recently made a page about one of the coldest day of my life… and it was last April! 😀


Credits:
 
Plus Sign Templates by Scrapping with Liz – 50% off for SOSN
Beary Cold Page Kit by Forever Joy Designs

I am in love with those pretty animal illustrations, and it was so fun to use that template (which is 50% off through Wednesday).
Here’s to a mild winter (one can hope..)!

2016 in Review

In early January, I like to look back at the year that has just finished and make a recap.
In 2016, I scrapped 184 pages (69 paper, 115 digital), made 38* weekly spreads in my Project Life album (*in fact I also caught up on ~15 weeks of 2015, so I made 50+ spreads; now I need to catch up on the remaining 14 pages for 2016), 2 mini albums, 40+ weeks in my weekly traveler’s notebook, and countless cards (40+). I took about 4,700 photos. I made 7 trips (4 for work, 3 for pleasure). I learned how to do brush lettering, and had my first surgery ever. It was a busy year, but a good one!

But what better way to make a recap that make a scrapbook layout? 🙂

I made this two-page spread to recap what happened in 2016, and it’s one of my favorite pages of all times.

The left page was made to use up this lovely letterpress calendar. I thought about cutting it up to use the “it’s your year” part, but then I really liked the whole page, and the idea for this spread was born.

The right hand side really makes me so happy. It uses almost exclusively the Roman Holiday Scrapbook Kit (and some washi strips from the Roman Holiday Documenter kit; sequins and chipboard alpha from my stash).
I spaced the chipboard pencils and washi strips out on the page, then calculated how many photos I’d need to fill up the space. It was so hard to narrow it down to only 16 photos!! That’s what I love more about this page – as I was putting it together, I looked through all my photos and thought back at all the good things that happened this year.
I used the puffy stickers from the kit to mark the months of the year corresponding to the photos, which I arranged chronologically.

Here’s a look at some of the details:

I matched the colors of the pencils and washi strips.

Gold for the title, to match with the calendar page.

I am so happy with how this turned out!

Coffee Cup Mini Album

Hello! 2017 started pretty well for me and I have been on a roll. I started by cleaning up my craft space (since my desk had been cluttered for months and I had been using my kitchen table to craft… not good!), and then once that was done I jumped into a new project: a coffee cup mini album inspired by the awesome Wilna Furstenberg.

I am just so happy with how it turned out!!

I held on to this cup from Starbucks for many years (it’s my favorite one ever), but finally I decided to use it, and I’m so glad I did! I added some watercolor paint and stitched some embellishments to the front cover.

I was inspired by Wilna’s adorable bear illustrations, so I used a couple of bear stamps I had in my stash from Studio Calico. The one on the cover is from the Waldorf add on (sold out).

On the inside, I used 9″x12″ papers by A Beautiful Mess (the black and white ones) and  papers by  Crate Paper (6″x6″, and 12″x12″ by Maggie Holmes).
This cute polar bear is from an adorable stamp set by Life Love Paper (still in stock if you are interested).

I also used some chipboard by Crate Paper to embellish my pages.

I added a black and white photo of my husband and me from 2016 to each spread.

Here and there, I added some watercoloring. This is the spread at the middle of the album – you can see the stitching I did to bind the pages together.

I love the mix of black and white and hot pink and aqua!

In most cases, I used both sides of the 12″x12″ paper. The 9″x12″ and 6″x6″ papers were one-sided, so I glued them back to back.

And there is the back cover:

When assembling the album, I included a ribbon that can be tied to keep the album closed.

I am so thrilled with how this mini album turned out! What a lovely way to start the year.