Hello and welcome back for another month of Kill My Studio Calico Kit! This is the 14th installment of this series, and in total I have made a whopping (151) layouts. Yay me!
Kill my Studio Calico kit is a monthly series I started on my blog to hold myself accountable and use up my kits. You can subscribe to the Studio Calico Scrapbook kit here.
This month I’m using the Studio Calico scrapbook main kit for June 2016, Scout ($34.99 – but I got it when it went for sale for $10).
Notes: I really, really love the kit this month! I loved every single embellishment and found them easy to use, I also loved the papers, especially the back sides not shown in this photo, except for a couple that were a bit too busy and harder to use. The stamp is great, I love the transparent pieces, chipboard stars, and the gold script words. I loved the specialty paper with the gold foiled constellations! Since I bought the kit on sale it didn’t include the large alpha, but I am never a fan of those.
Status: killed!
I made 11 layouts (6 12″x12″, 5 8.5″x11″), for a total of $10, or $0.91/page. I supplemented the kit with some items from my stash (stamps, ink sprays, and the odd embellishment). Here’s a roundup of all the pages I made:

And here is what I have left:

Leftovers: I have some scraps of paper left, some alpha stickers and chipboard stars, and washi tape. Pretty much killed!
And here is what I made with the kit.

I made a process video for this page, and you can see it here.

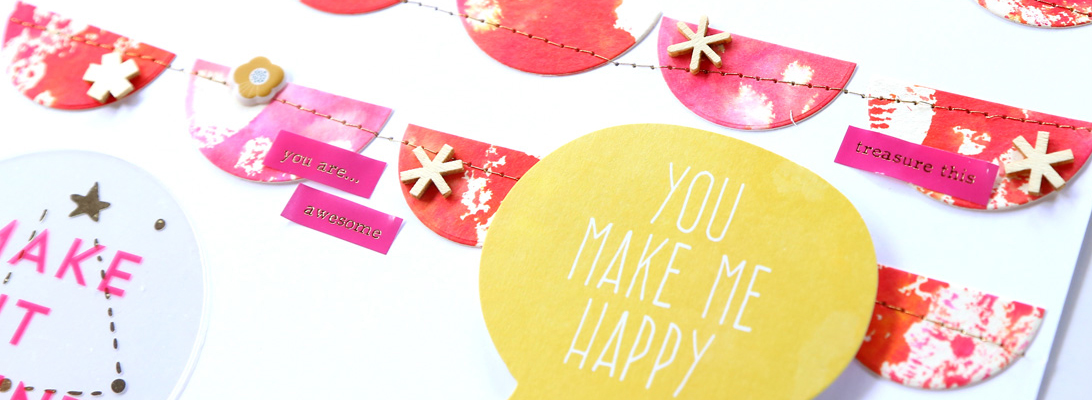
I had so much fun making the background for this page! I recently bought ten colors of the Dylusions ink sprays by Ranger, and they are awesome! They blend incredibly well when you add a bit of water, and I love the vivid colors! So as soon as I got them, I made this background to try them out.

I love how this page turned out – I made it to celebrate our 10th wedding anniversary. I used ten puffy stars, one for each year of marriage, and a bunch of other stars for the years we have ahead. I backed the wood veneer star embellishment with card stock that I misted pink, so it stands out more.

I used the cooler tones of the pretty watercolored labels to add some interest to this page from our trip to Hawaii. I miss this place!! I also added some stamping but it’s hard to see that in the photo.

I love how the specialty paper pops against the kraft background! And yay me for using up some of those pink alpha stickers I’d bought in a sale and never used! 🙂

I had some more fun with the Dylusions ink sprays by Ranger. Also, I used Distress Oxide ink for stamping on the wood veneer and I love how well it worked – no feathering!

Here I added some tags I die cut from leftovers of the previous page – mopping up the excess Dylusions ink sprays by Ranger. And also some embossing on the background.

More leftovers of Dylusions ink sprays by Ranger – I LOVE how this page turned out!

Bunnies are pretty much my favorite thing ever. 🙂 I’m so happy this cutie is hanging out in our backyard this year! I was out of “n”s so I turned two “u”s upside down instead for the title.

This was my favorite paper in the kit and I really wanted to hoard it, but I ended up using it on this page and I’m so glad I did because I love it! And I did some more stamping on wood using Distress Oxide ink.

On the other hand, this was my least favorite page of the kit, so I’m very proud of myself for using some of it! I cut it into strips and I like the look.
And that’s it! Another kit killed! Thanks for stopping by, and do leave me a comment if you like this series!


